(UPDATED: 11/03/2023: Included other features, latest is the Push Notification Alert option and how to use/enable it)
(UPDATED: 02/03/2024: Included blog post about creating a Mirth Connect Client API Facade to be used for PocketMRTH)
(UPDATED: 04/01/2024: Included details of the new feature “Events”)
In the course of my journey into JavaScript, Mirth Connect, and Health IT, I’ve crafted a mobile application using React Native and Expo.dev. Allow me to introduce you to “PocketMRTH,” a versatile app designed for you to effortlessly view and monitor your Mirth Connect servers along with their channel statistics. Unlike many other similar apps, PocketMRTH doesn’t rely on an external API service. Instead, it operates as both the client and server, ensuring that all your data remains securely stored locally. The only instance where the app makes external HTTP requests is when you add and configure your Mirth Connect servers through “Connections.” Here’s a quick overview of its key features:
- No External API Service: PocketMRTH operates independently without relying on external API services.
- Local Data Storage: Your data is securely stored on your device, enhancing privacy and security.
- Two-Factor Authentication (2FA) Option: We’ve integrated 2FA for added security.
- Secure Credential Storage: Your Mirth Connect Client API credentials are safely stored using Expo’s SecureStore.
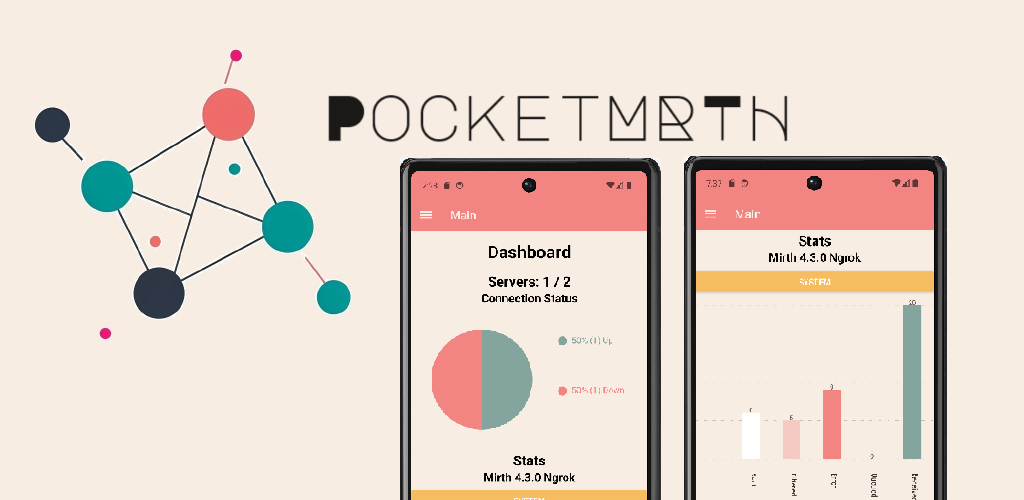
- Effortless Channel Stats Visualization: Use the app’s intuitive charts to visualize the status of your Mirth Connect servers and their channel statistics.
- Start, Stop, Pause and Resume Channels: You are now able to interact and change your channel’s state/status.
- Deploy and Undeploy Channels
- Get Push Notification Alert for Specific Channel Stat Changes: Choose the channel and the specific statistic type to get notified when the app is “minimized”.
While PocketMRTH uses local data storage and security, it’s essential to implement best practices for securing your Mirth Connect instances and Client API. This can include techniques such as tunneling, VPN usage, or restricting access to specific endpoints.
Now, let’s delve into a step-by-step guide on how to use the app:
1. Sign Up and Login:
- Download and install PocketMRTH (Currently available exclusively on the Google Play Store). Open Testing phase (https://play.google.com/store/apps/details?id=com.mixelot.PocketMRTH&pcampaignid=web_share)
- Launch the mobile app.
- Click “Don’t have an account? Sign up.”

- Enter a username and password.
- Carefully read the Terms of Service and toggle the switch button to agree.
- Tap the “Signup” button.
- On the “Login” page, enter the username and password you just created, then hit the “Login” button.
2. Enable Two-Factor Authentication:

- After logging in, navigate to the “Profile” page.
- Tap the “Edit Profile” button.
- Toggle the switch for “Two-Factor Authentication.”
- Copy the secret key generated and make a note of it.
- Enter your password.
- Tap the “Save” button.
- Install and open “Google Authenticator.”
- Tap the “+” button and select “Enter a setup key.”
- Enter a name, paste the copied secret key into the “Your Key” field, and leave the “Type of key” as “Time-based.” Tap “Add.”
3. Add and View Mirth Connect:
- Navigate to the “Connection” page. Here, “Connections” represent your Mirth Connect instances.
- Tap the “+” button.
- Enter the following details:
- Name: Give this connection a unique name of your choice.
- Host: Specify the URL of your Mirth Connect Client API.
- Username: Provide your Client API username.
- Password: Enter your Client API password.
- Tap the “Save” button.
- You can now view the added entry on the “Connection” page. The “up” and “down” arrows indicate the server’s status.

- Clicking on a specific connection will display the channel statistics for that Mirth Connect instance.

- On the “Main” page, you can observe the status of your servers and the aggregated channel statistics.

4. Interact and Change Channel States
On your “View Connection” page, you can select on a channel and a window will show you the breakdown of stats and the commands you can send to the channel. You can:
- Start/Resume
- Stop
- Pause
- Deploy
- Undeploy


5. Enable and set Push Notification Alert
This feature allows you to enable push notification on the app and will notify when there are changes in the channel statistics. You’ll need to enable this feature in the “Edit Profile” page and set alert on specific channel stats.
- In the Dashboard page, you should be able to see the “Stat Alert” status. There’s also an information icon to learn more about it.

- To enable the feature, first go to the “Edit Profile” page.

- Enable the “Allow Background Notification” and set the Poll Time to your desired value, this is in minutes.
- Navigate to the Connection page and open a channel by clicking on it.
- You’ll see the channel stat, commands and the new bell or notification icon beside the stat values.

- Here’s an example of a notification you’ll get.

6. View and search “Events”
This is the same list of records found in your Mirth Connect “Events”. Currently, it loads 20 items and can view more. You can also search by “Event Name”.
You can see a quick video demo of this here:
Or checkout the PocketMRTH playlist here:
If you want to review the code or submit issues, you can check the Github repo here: https://github.com/litemikx/pocketmrth.
If you have security concerns on exposing your Mirth Connect Client API, I made a post about building a Facade API where the use case is for PocketMRTH. You can check that post here: https://thisdevblogs.wordpress.com/2024/02/04/mirth-nextgen-connect-bits-14-build-a-mirth-client-api-facade-for-pocketmrth/
That’s it! You’re now equipped to effortlessly monitor and access your Mirth Connect instances. Currently, PocketMRTH is limited to providing statistical data, but we remain open to expanding its features based on user feedback and support for this personal project. Thank you for choosing PocketMRTH!
If you want to support this project, you can:

